
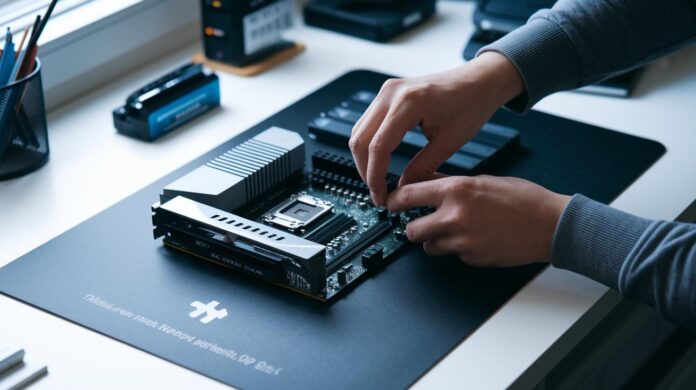
Bottom line: Building a PC is like piecing together a perfect puzzle, where every component matters.
Ever wonder how to start your own build? Think of it as snapping together puzzle pieces that sync up just right. In this guide, we cover the must-have components: a roomy case for all your gear, a solid motherboard to connect everything, a fast processor to keep things smooth, and a cooling system that stops heat from holding you back. You’ll also need dependable RAM, the right storage for your games and files, and a power supply that never quits. Follow along as we bust common myths and show you a smart, hands-on way to build a rig that keeps everyday tasks and intense gaming running without a hitch.
Core Hardware Components for Building a PC

Building your own PC is easier when you have a clear checklist. Start with a solid PC case that offers plenty of space for your parts and strong airflow to keep temperatures down. Next, choose a motherboard, which connects your processor, memory, storage, and expansion cards in one tight system.
Your processor, often called the brain of the computer, dictates overall speed and performance, so pick one that matches your needs and upgrade plans. A good cooling system, whether you use the stock option or an aftermarket air or liquid cooler, is essential to keep the processor running without hiccups.
Don't forget memory (RAM) for smooth everyday tasks and storage drives that slash boot and load times. Solid-state drives (SSDs) can be up to six times faster than hard disk drives (HDDs), making them a smart choice for your operating system and key applications. A power supply unit (PSU) with enough wattage and an 80 Plus efficiency rating plays a crucial role in providing stable energy for your build.
Optional discrete GPUs can take your graphics performance to the next level if you’re into gaming or video work, while peripherals like a monitor, keyboard, and mouse complete the setup.
CPU and Motherboard Choices for Your PC Build

Choosing the right CPU and motherboard is key. The CPU is like your computer’s brain, so you want one that handles tasks quickly and consistently. You have a couple of solid choices: Intel’s 11th to 13th Gen Core lineup or AMD’s Ryzen 5000 and 7000 series. Look at core counts, base and boost clock speeds (how fast it runs normally and when pushed), and thermal design power (TDP, which shows heat output). Gamers and streamers should also peek at integrated graphics and overclocking options. And a quick tip on install: line up the triangle notch on your CPU with the socket marker on the motherboard for a snug fit and safe temperatures.
CPU Selection Considerations
- Pick enough cores if you run heavy apps or multitask.
- Match base and boost speeds to your workload.
- Check the TDP to ensure your cooling solution and power supply can handle the load.
- Think about overclocking if you want extra speed.
- Choose a CPU with integrated graphics if you’re skipping a separate graphics card.
Motherboard Compatibility and Chipset Differences
- Make sure the CPU socket fits; Intel uses LGA1700 and AMD uses AM5.
- Select a board that supports the right memory type (DDR4 or DDR5).
- Look at chipset features. More USB ports, SATA/M.2 slots, and built-in Wi-Fi can boost flexibility.
- Choose the right form factor (ATX, Micro-ATX, or ITX) for your case.
- Consider the VRM quality (power control) to keep your system stable, especially if you plan upgrades in the future.
A solid CPU paired with a matching motherboard sets you up for smooth gaming and streaming. Use these tips as a quick guide to build a system that’s both powerful and future-proof.
Selecting Memory and Storage for Optimal Performance

When you build a PC, the right memory and storage can make all the difference. We found that using paired RAM, like two 8GB sticks for a total of 16GB, boosts multitasking and keeps your system feeling brisk. This setup takes full advantage of dual-channel speeds (using two slots as recommended) and is like giving your PC a quick shot of energy before a long gaming session.
For storage, NVMe M.2 SSDs are a game changer. Models using PCIe Gen 4 offer blazing boot and load times, making them ideal for your operating system and key apps. For those who need more space without breaking the bank, pairing an NVMe SSD with a high-capacity HDD is a smart move. The SSD handles speed while the HDD takes care of your large files like photos and videos.
If you’re watching your budget, SATA SSDs are a solid middle ground. They deliver better speeds than traditional HDDs and won’t cost you as much as NVMe drives. Just remember, SATA drives need both a data cable and a power connector from your power supply to run properly.
Bottom line: Align your memory and storage choices with your performance needs and budget, and you’ll enjoy a smoother, faster computing experience.
Power Supply Units and Case Selection Essentials
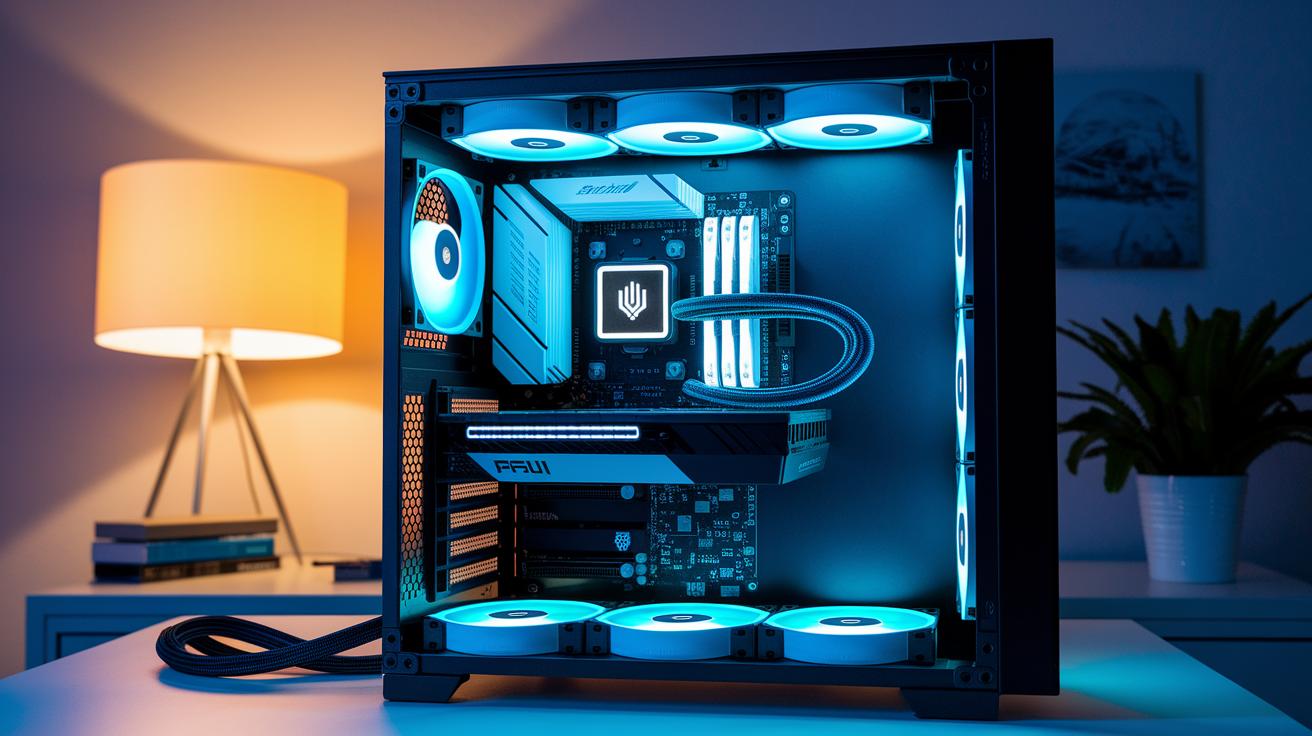
Bottom line: Grab a PSU that packs a bit more power than your system needs. I add up each component's TDP (thermal design power) and then get a unit with extra headroom. Look for an 80 Plus Bronze rating to ensure steady, efficient performance. Most PSUs fit best at the bottom of mid-tower cases, which helps keep the heat down during those long gaming marathons.
Picking a case matters just as much as choosing the right PSU. Cases come in sizes like ATX, Micro-ATX, and ITX, so make sure yours fits your motherboard. Check that it has plenty of room for your GPU, especially if it's a long card, and space for a tall CPU cooler. If you need extra storage, make sure there are enough drive bays. Look for cases that offer multiple fan spots or radiator mounts to keep the airflow snappy. Finally, verify that the front ports (like USB and audio) match your setup needs for a streamlined build.
Cooling Solutions and Graphics Card Considerations

The stock cooler that ships with most systems works well for basic use. However, if you're planning heavy gaming or streaming, it's smart to upgrade to a better air-cooler or an all-in-one (AIO) liquid cooling setup. Always apply thermal paste evenly between the CPU and the cooler base to boost heat transfer and keep temperatures safe. Also, check that your case can house 120 mm or 140 mm fans to ensure you get enough airflow.
When it comes to graphics, your needs should guide your choice. For simple tasks, integrated graphics might do the job, but if you're into gaming, creative projects, or intensive rendering, a separate graphics card is a must. Cards like the NVIDIA RTX 4090 or AMD RX 7900 deliver the muscle required for high-end performance. Just be sure your chosen GPU fits in your case and that your power supply unit (PSU) has the right connectors. Following these steps will help keep your system stable and ready for demanding workloads.
Assembly Accessories and a Step-by-Step PC Build Guide
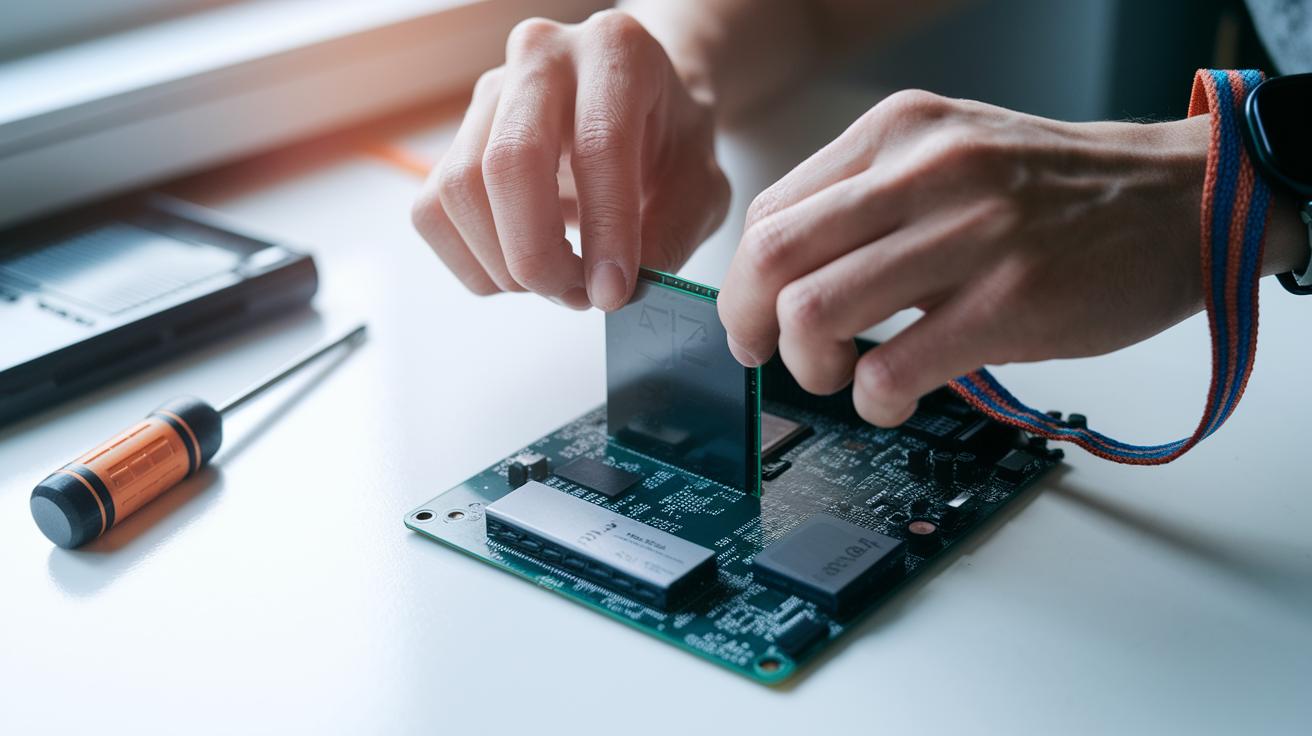
Bottom line: Grab a few simple tools and follow these clear steps for a smooth PC build.
Start with the essentials. You'll need a Phillips screwdriver with multiple bits, an anti-static wrist strap (to protect parts from static shock), and a solid flashlight for dim spots. These tools keep the build on track and help avoid accidents.
Here's a quick checklist:
- Find a clean, well-lit space. Strap on your anti-static wristband to guard against static damage.
- Place your CPU into its socket. Align the triangle marker on the processor with the matching mark on the motherboard. Then, follow the cooler's instructions to seat it correctly.
- Install your memory modules into the DIMM slots. Make sure they click in firmly to set up dual-channel mode.
- Mount any M.2 SSD on the motherboard before you install it in the case. This way, you won't struggle with cramped spaces later.
- Fit the standoffs in your case and snap in the I/O shield. This step makes sure all your ports line up perfectly.
- Screw the motherboard in carefully, checking that every connection is secure.
- Install the power supply (PSU). Connect the main 24-pin and CPU power cables, then hook up the SATA cables for your drives.
- Slot in your GPU into the right PCIe slot and attach its power connectors.
- Organize your cables to keep airflow smooth. Connect the front-panel USB, audio, and other headers. Finally, power up the system to check that you see the POST and can access the BIOS.
Follow these steps to build your PC confidently and enjoy that first successful boot.
Final Words
in the action, we broke down every part of building a PC, covering your case, motherboard, CPU, memory, storage, PSU, cooling, and even that essential discrete GPU. We laid out easy-to-follow steps, making the entire process less daunting and more fun. The detailed checklist and hands-on tips keep your build smart and responsive. When figuring out what components do you need to build a pc, you'll be set for a smooth setup and peak performance.
FAQ
What parts are required to build a gaming PC?
The parts required to build a gaming PC include a case, motherboard, CPU, memory, storage (SSD/HDD), power supply unit, and often a discrete graphics card, along with cooling solutions, an operating system, and peripherals like a monitor, keyboard, and mouse.
How do you build a gaming PC step by step?
Building a gaming PC requires preparing a clean workspace, installing the CPU (aligning its triangle marker), adding memory and storage, mounting the motherboard and PSU into the case, fitting the GPU, connecting all cables, and testing for a successful POST.
What tools and additional items do you need besides the parts?
In addition to the main hardware, you need tools such as a Phillips-head screwdriver, an anti-static wrist strap, and a flashlight. These accessories help properly secure and connect your components during assembly.
What do you need for a PC gaming setup?
A full PC gaming setup not only includes the custom PC build but also a high-refresh-rate monitor, a responsive gaming keyboard and mouse, and optionally quality headsets or speakers, providing an immersive and competitive gaming experience.
How many fps can a $700 PC run?
A $700 gaming PC can typically achieve around 60 or more fps in many popular games, though actual performance depends on specifications, resolution, and graphical settings chosen during play.
Can a $500 PC run Fortnite?
A $500 PC can run Fortnite with acceptable performance by using lower settings and optimized components, ensuring a smooth, playable experience despite a modest budget.
Is it cheaper to build your own gaming PC?
Building your own gaming PC can be more budget-friendly than buying a pre-built system, allowing you to tailor components for performance and value while requiring time and research to select the best parts.