
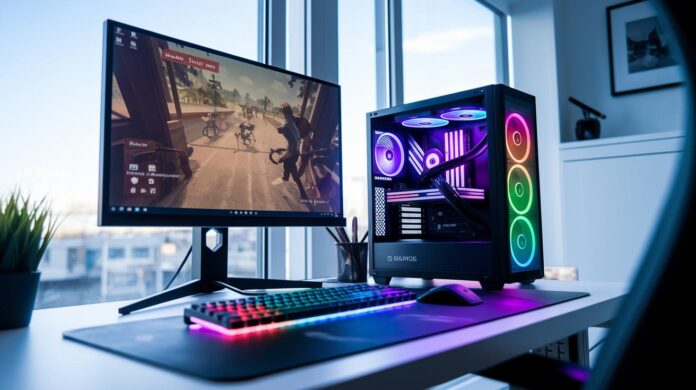
Bottom line: Building your own gaming PC gives you full control over performance and cost, letting you tailor your rig exactly to your needs.
Ever wonder if a custom rig is the way to go? Some gamers stick with pre-built systems because they seem safe. But building your own setup means you choose parts that match your goals, whether that's buttery 1080p action or smashing ultra settings for that extra visual punch.
By planning out your budget and performance targets, you know exactly which parts add value without overspending. This method lets you dial in the specs you need, delivering the smooth, optimized gaming experience you crave.
Ready to power up your play? Follow a clear, strategic plan to build a gaming rig that truly fires on all cylinders.
Planning Your Build: Budget and Parts Selection for Building a Gaming PC
Bottom line: Set clear performance goals to match your budget and gaming needs. Whether you’re chasing smooth 1080p action or aiming for ultra settings, knowing your target helps you pick the right parts without overspending.
Start by defining your performance goal. Are you after high frame rates at 1080p, or do you crave ultra visual details? Clear targets make it simple to mix and match components that offer the best bang for your buck.
Below is a breakdown of common budget tiers and what to expect:
| Budget | Specs and Expected Performance |
|---|---|
| $500 | Basic CPU and GPU with a SATA SSD. Hit around 60 fps in less demanding titles. |
| $800 | Entry-level CPU/GPU pair and an M.2 SSD upgrade. Target 60–75 fps on medium settings. |
| $1,000 | Mid-range processor and graphics card with dual storage options. Aim for 75–90 fps. |
| $1,500 | Stronger CPU/GPU combo and an M.2 NVMe SSD. Expect around 90–120 fps. |
| $2,000 | Advanced CPU and GPU with high-speed storage. Reliable performance at 120+ fps in many games. |
| $4,000+ | High-end parts, premium M.2 NVMe storage, and extra cooling. Enjoy ultra settings and silky-smooth gameplay. |
For cost accuracy, I used PCPartPicker to compile prices. Always run your build through a wattage calculator and add about 20% extra on the power supply. This extra headroom keeps your system stable during heavy gaming loads.
Lastly, check your case dimensions. A roomy case is best for larger graphics cards, while a compact mini-ITX case works for tight spaces. Balancing cost with performance helps you build an efficient, powerful gaming PC without breaking the bank.
Core Component Choices When Building a Gaming PC
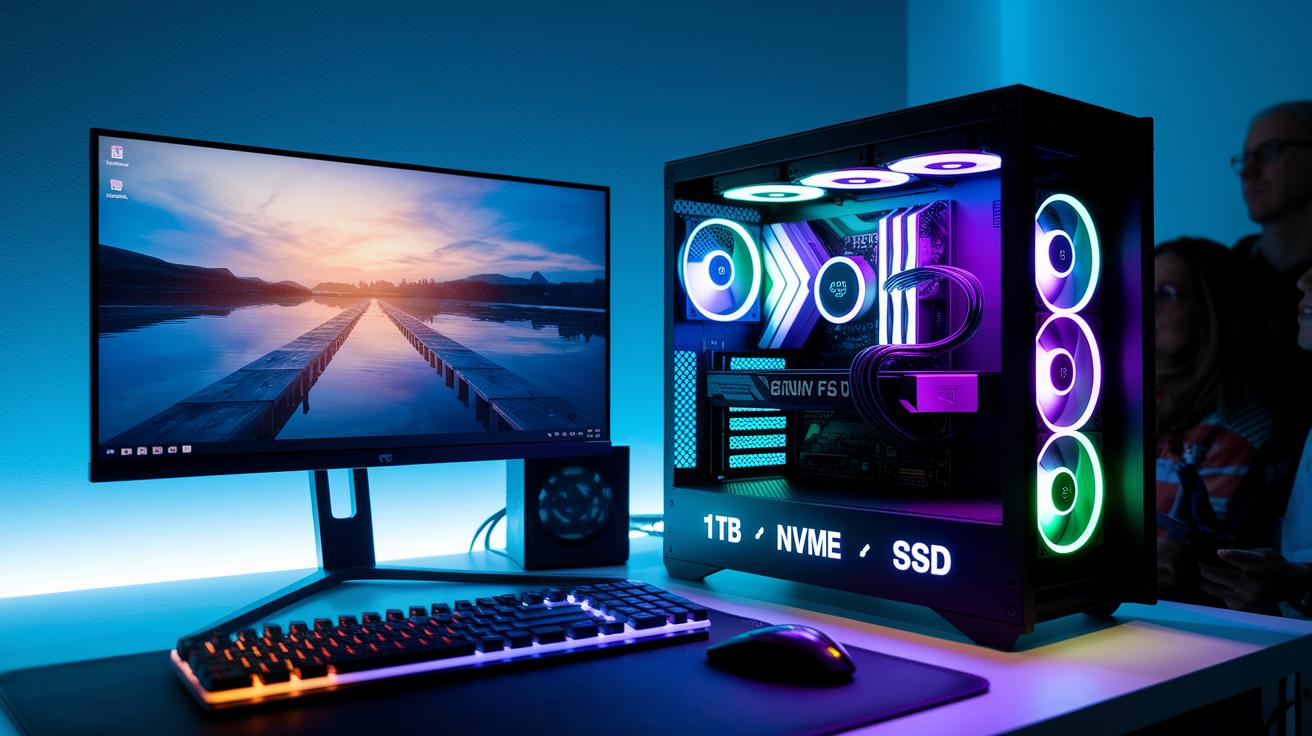
Bottom line: Your CPU and GPU set the stage for smooth, responsive gaming. A solid CPU with strong multi-threading and a big L3 cache, like Intel’s 11th to 13th Gen Core or AMD’s Ryzen 5000/7000, ensures crisp 1080p play. Pair it with a powerful GPU, such as the Nvidia GeForce RTX 4070 Ti or a competitive AMD Radeon, to drive high frame rates in even the toughest games.
Memory and storage also play a key role. Fast DDR4 or DDR5 RAM, boosted with XMP or AMD EXPO profiles, helps your system run at peak speed. Adding a 1TB M.2 NVMe PCIe 4.0 SSD drastically cuts load times, giving you quick game starts and smooth transitions between levels.
Finally, the right motherboard and power supply keep everything working in sync. Choose a motherboard that fits your CPU’s socket (AM4, AM5, or LGA1700) and a PSU offering about 20% extra headroom, think a 650W 80 Plus Gold unit, to handle peak power draw without faltering.
| Component | Recommendation | Notes |
|---|---|---|
| CPU | Intel Core i5-12600K / AMD Ryzen 5 7600 | Strong L3 cache; great for 1080p |
| GPU | Nvidia GeForce RTX 4070 Ti | High power; requires extra space for cooling |
| RAM | DDR5 16GB kit | Enable XMP/AMD EXPO for best speeds |
| Storage | 1TB M.2 NVMe PCIe 4.0 SSD | Fast access times cut game loading |
| PSU | 650W 80 Plus Gold | 20% headroom keeps power stable |
Essential Tools and Pre-Assembly Checklist for Building a Gaming PC
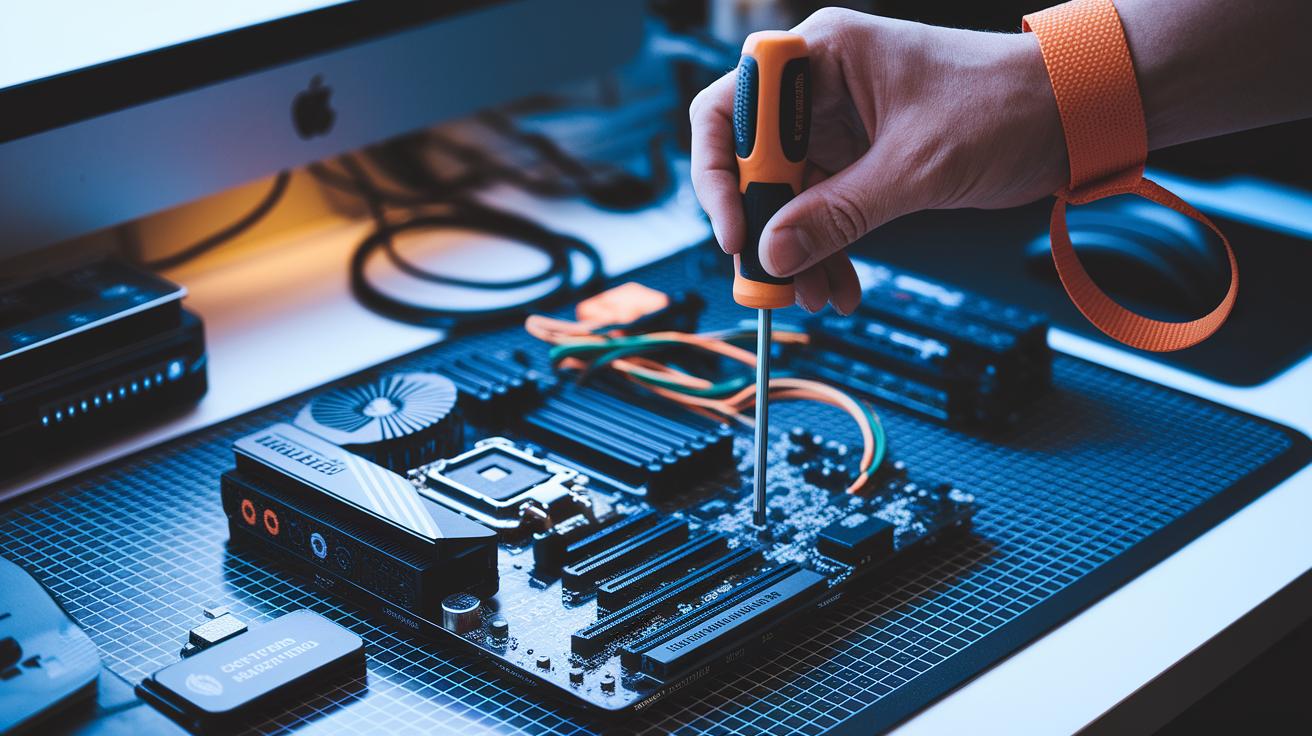
Before you jump into building your rig, gather the basics. You need a Phillips screwdriver, an anti-static wrist strap (to protect delicate parts), and some cable ties to keep your wires tidy. Work on a non-conductive surface and take a moment to ground yourself. Think of grounding like a quick reset before a serious gaming session, small steps now prevent big issues later.
Next, make sure your parts play nicely together. Check that your CPU matches your motherboard's socket and that your RAM type fits your board's requirements. Also, look at GPU clearance to ensure your graphics card fits the case. Start by removing side panels, installing the motherboard standoffs, and test fitting all components before locking anything in place. This upfront check makes assembly smoother and helps avoid surprises later on.
Building a Gaming PC: Energize Your Setup
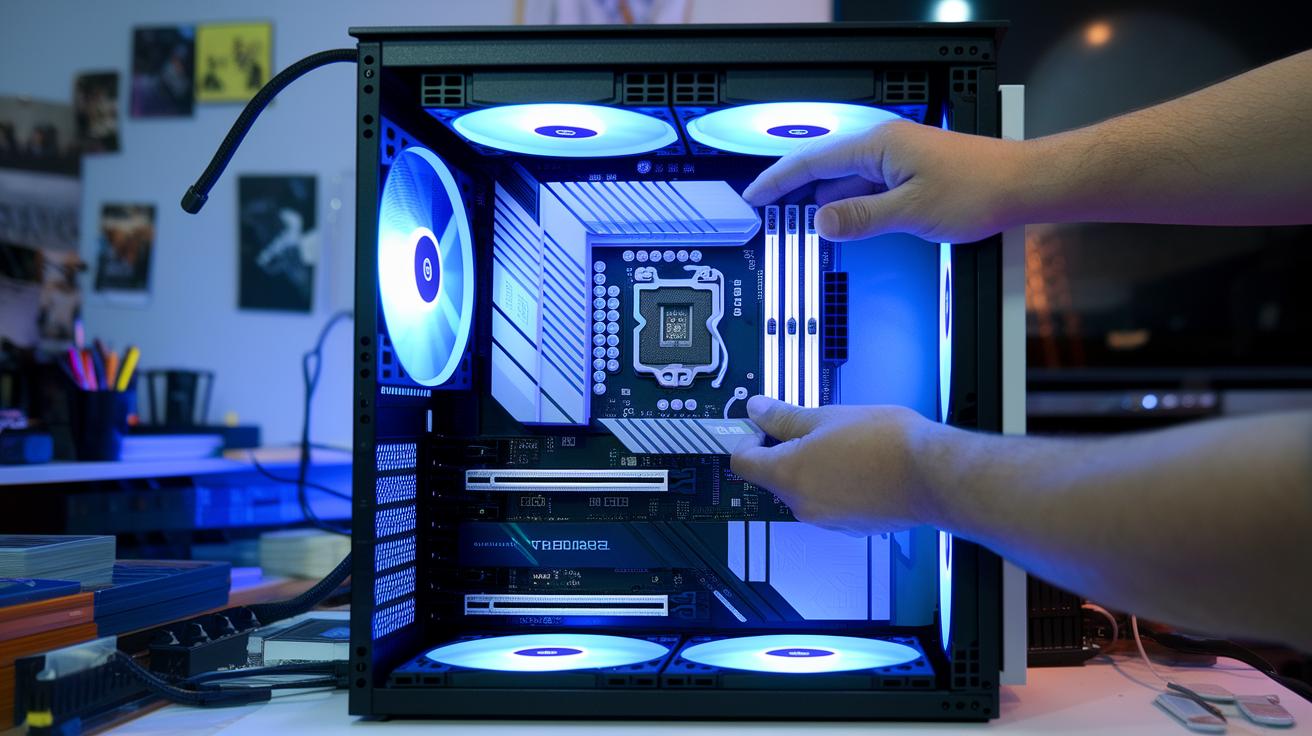
- Start by installing your CPU. Carefully lock in an AM4/AM5 or LGA1700 socket and spread a thin coat of thermal paste for effective cooling.
- Firmly seat your DDR4 or DDR5 memory sticks into their slots. Later, enable XMP (for Intel) or AMD EXPO profiles in the BIOS to boost your speeds.
- Slot in your M.2 SSD into the PCIe 4.0 port and secure it with the heatsink if you have one. This step ensures quick game load times.
- Mount the motherboard in your case by lining it up with the standoffs and screws. Make sure it sits flush to avoid any short circuits.
- Connect the front-panel headers such as USB ports, audio jacks, and power/reset buttons. These small connections make your system work smoothly.
- Install your power supply (PSU) in its spot. Then route the 24-pin, CPU 8-pin, and GPU power cables behind the cable management tray for a neat build.
- Insert your GPU (like a three-slot PNY RTX 4070 Ti) into the correct PCIe slot and secure it tightly. This step handles the high power and heat when you game.
- If you need extra storage, mount any SATA drives. You can also attach extra case fans or RGB kits to boost airflow and add a personal touch with lighting.
- Emphasize cable organization. Use zip ties or Velcro straps to secure cables, which improves airflow and helps keep the interior cool.
- Finally, power on your PC. Jump into the BIOS, run the POST (Power-On Self-Test), and enable any memory profiles. This check makes sure everything runs in sync before installing your operating system.
Cable Management and Cooling Solutions for Your Gaming PC Build
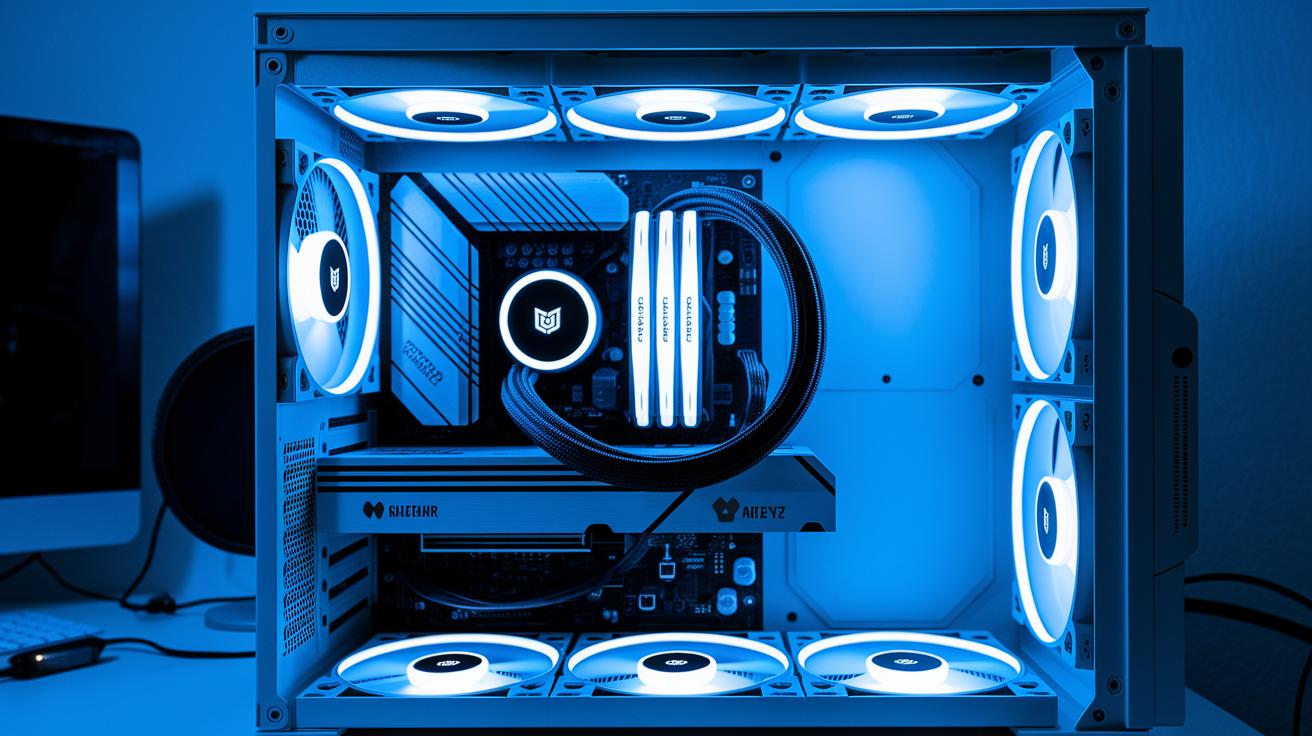
When setting up your gaming rig, clear cable routes make a big difference. I always route power and data cables behind the motherboard tray using zip ties or Velcro straps. This not only cleans up the inside of your case but also improves airflow, keeping your parts cool. Tuck cables neatly away from fan intakes, label each bundle with cable clips, and check that nothing blocks critical connectors. A tidy setup makes future upgrades easier and gives your build that professional, streamlined look.
Plan your cooling setup like you’d plan a game strategy. Place intake fans at the front to draw in cool air and exhaust fans at the back to push warm air out, which helps maintain positive air pressure. If you’re leaning toward liquid cooling, make sure you set up the all-in-one (AIO) loop correctly and spread thermal paste evenly between the cooler and the CPU. A popular pick is the Corsair SP120 RGB Elite, known for its balanced airflow and eye-catching lighting. And don’t forget to secure all your cables to keep vibrations and extra noise at bay, so you can focus on dominating your game.
First Boot, BIOS Configuration, and OS Installation on Your Gaming PC

Fire up your rig and hit Del or F2 to open the BIOS/UEFI. Watch the POST run, this is your system checking that every fan, voltage reading, and temperature sensor is working normally. A smooth POST means you’re off to a good start.
Next, dive into your memory settings. Enable XMP or AMD EXPO so your RAM runs at its best. Update the BIOS firmware to the newest version; this helps fix glitches and boosts overall stability. Tweak voltage and clock settings to keep your CPU and GPU performing well, even during long gaming sessions where every millisecond counts.
Finally, set the boot priority to your USB drive or NVMe installer. Install your operating system, then partition your drives and add chipset and GPU drivers. Once all drivers are verified and updated, your gaming PC is ready for action.
Performance Testing, Optimization, and Troubleshooting After Building a Gaming PC
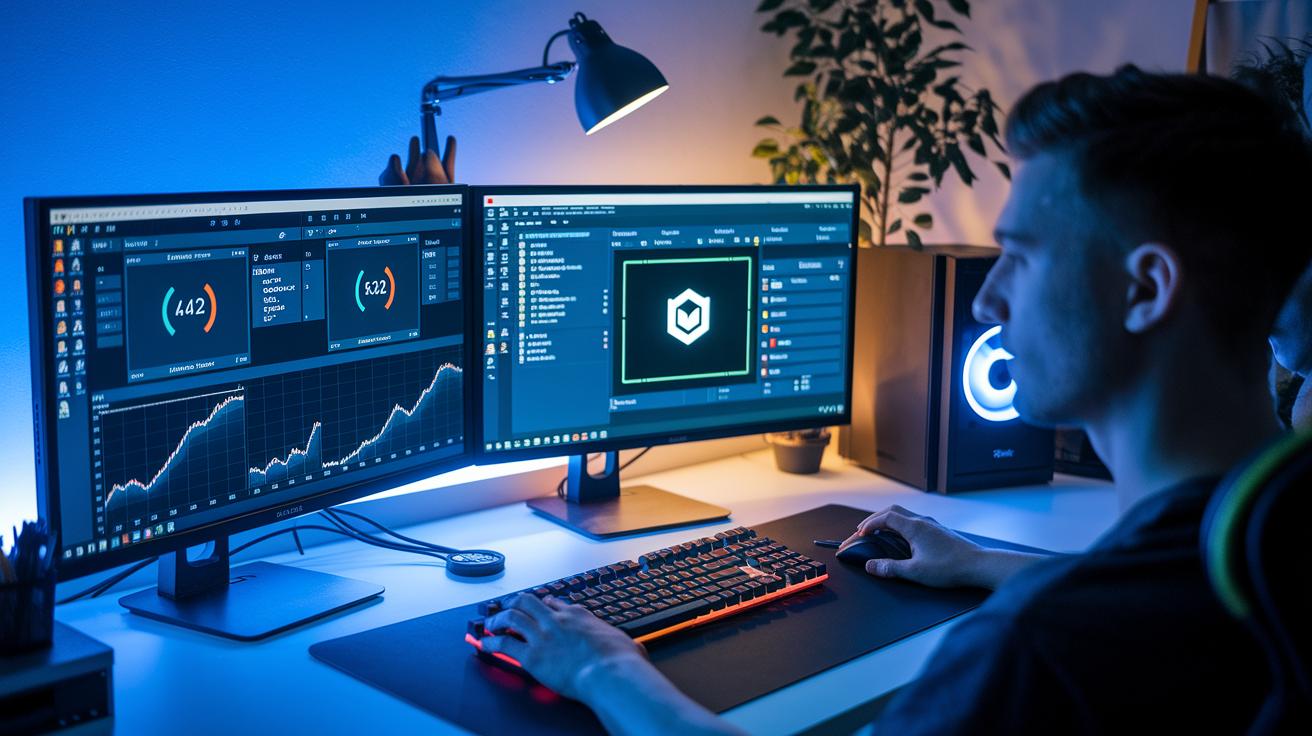
First off, give your new rig a solid test run. Use benchmark tools like 3DMark (for testing your graphics card) and Cinebench (for stressing your CPU) to see how your build performs under load. Running these tests shows you exactly where things stand while you’re gaming. Also, check your system temperatures with HWMonitor to ensure your cooling setup keeps things cool during long sessions.
Next, stress your system with tools like Prime95 and OCCT. These programs push your components for extended periods so you can spot any weak links. Jot down your benchmark and stress test numbers, they act like a pre-game warm-up, ensuring everything’s up to speed before you jump into intense gameplay.
If you hit any snags during your tests or gaming sessions, start troubleshooting right away. Reseat any loose RAM or GPU cards and double-check that every power connector is snug. Look up your motherboard’s beep codes to catch any error signals. Small changes can go a long way; try tweaking your GPU driver settings or nudge your CPU with a light overclock in the BIOS for a performance boost. And if there are still bumps in the road, think about future upgrades like adding more RAM or swapping in a faster NVMe drive to fill in performance gaps for smoother high-FPS gaming.
Final Words
In the action, this guide broke down everything from planning your build and core component choices to assembly, cable management, first boot, and performance testing. We covered budget tiers, key parts, tools needed, and step-by-step installation tips. Testing tips and troubleshooting were also discussed to help you fine-tune your rig. This advice is meant to boost your confidence and improve gameplay. Enjoy building a gaming pc that matches your needs and delivers solid performance for all your sessions.
FAQ
What parts are needed to build a gaming PC?
The parts needed include a CPU, GPU, motherboard, RAM, storage (SSD or HDD), power supply, case, and cooling solutions. Each component should meet your performance goals and budget.
How do I build a gaming PC step by step?
The process starts with gathering your tools and parts, assembling the CPU, RAM, storage, and cooling onto the motherboard, mounting the motherboard in the case, connecting cables, and finally configuring BIOS and installing the OS.
How can I build a gaming PC on a budget?
Building a gaming PC on a budget means focusing on affordable yet reliable components like entry-level CPU and GPU options. Use cost calculators like PCPartPicker, plan for PSU headroom, and choose parts that balance performance and cost.
What should I consider for building a gaming PC in 2025?
Planning a gaming PC for 2025 means looking at upcoming CPU and GPU models, ensuring compatibility with modern standards, and planning for performance longevity while balancing today’s budget with future-proofing features.
Is it worth building a gaming PC, and how does it compare to buying one?
Building your own gaming PC provides customization and potential cost savings over pre-built systems. It gives you control over each component and performance tuning, though it may require more time and troubleshooting.
Is it possible to build a gaming PC for $500?
Building a gaming PC for $500 is possible with entry-level parts. You can expect modest performance suitable for casual gaming, though intense titles may require lower resolution or graphics settings until future upgrades are made.
How hard is it to build your own gaming PC?
Building your own gaming PC is manageable with clear, step-by-step guides and basic tools. It demands attention to detail and checking component compatibility, but many gamers complete their builds successfully with proper research.