
Twitch Streaming Setup Made Simple
Follow our five-step plan for smooth, lag-free broadcasts
Bottom line: A solid Twitch setup can shave off lag and glitches, making your stream smoother and more enjoyable.
Ever wonder why some streamers perform at their best while others get stuck with lag and glitches? We’ve seen it firsthand. A setup that works turns tech headaches into smooth gameplay.
Our guide lays out a clear five-step plan, from setting up your Twitch account to testing your gear. Even basic hardware makes a difference. A solid camera, a reliable mic, and a 5 Mbps upload speed can boost your stream in a big way.
Ready to level up your stream? Follow our plan and start enjoying broadcasts that run as smoothly as your favorite game.
How to Start Your Twitch Stream: A Step-by-Step Setup Guide

Bottom line: Get streaming on Twitch for free with a simple five-step setup that covers your account, software, and hardware. Just make sure you have at least 5 Mbps upload speed to enjoy a smooth 720p60 stream with little to no buffering.
Start by doing these steps:
- Sign up for your Twitch account and set up two-factor authentication to improve security.
- Download and install OBS Studio. This open-source tool links seamlessly with Twitch and gets you streaming fast.
- Find your stream key on Twitch and paste it into OBS Studio under Settings > Stream.
- Hook up your camera, mic, and lighting gear. Test each one to ensure they’re connected and working correctly.
- Do a quick broadcast test to confirm your setup. When everything checks out, hit that “Go Live” button.
A quick tip: Check your upload speed before you stream. A stable connection keeps your stream smooth and reduces lag, meaning you stay in the game instead of dealing with tech hiccups.
Follow these steps, and you’ll be ready to share your gameplay and connect with your audience without worrying about technical issues. Enjoy your stream and keep it action-packed!
twitch stream setup: Ready for peak performance

Bottom line: A solid, well-tested streaming rig makes your broadcast smooth and reliable. If you want gear that keeps up with dynamic gameplay and live chat, here's how to build your streaming workstation.
Gear matters, from your camera to your PC. Start with cameras: The Insta360 Link 2 offers fluid tracking with its 2-axis gimbal (which keeps your image steady). It's ideal for fast-paced setups where every angle counts. If you're on a budget, the Insta360 Link 2C is a smart, desktop-friendly alternative.
Lighting is crucial. The Elgato Key Light pumps up to 2800 lumens and is fully adjustable so your face is evenly lit without harsh shadows. This makes a huge difference for stream quality.
Sound also plays a key role. The Blue Yeti USB Microphone lets you switch between noise-capturing patterns (different modes for different setups) so your voice comes through clear whether you're hosting a group chat or gaming solo.
For headsets, the HyperX Cloud II delivers crisp audio with its 53 mm drivers, balancing game sounds and chat so you don’t miss a beat. And you need a PC that can keep up, think of a setup like the Acer Nitro 5 loaded with 32 GB DDR4. It handles OBS encoding and gaming at the same time with no hiccups.
Dual monitors can be a game changer. They let you watch chat, alerts, and your gameplay simultaneously without the need for constant alt-tabbing. This setup keeps you in the zone all stream long.
Pull these pieces together to build a responsive, reliable streaming machine. For deeper gear details, check out the twitch streaming equipment guides. Optimize your setup and stream like a pro.
Setting Up OBS Studio for Your Twitch Stream
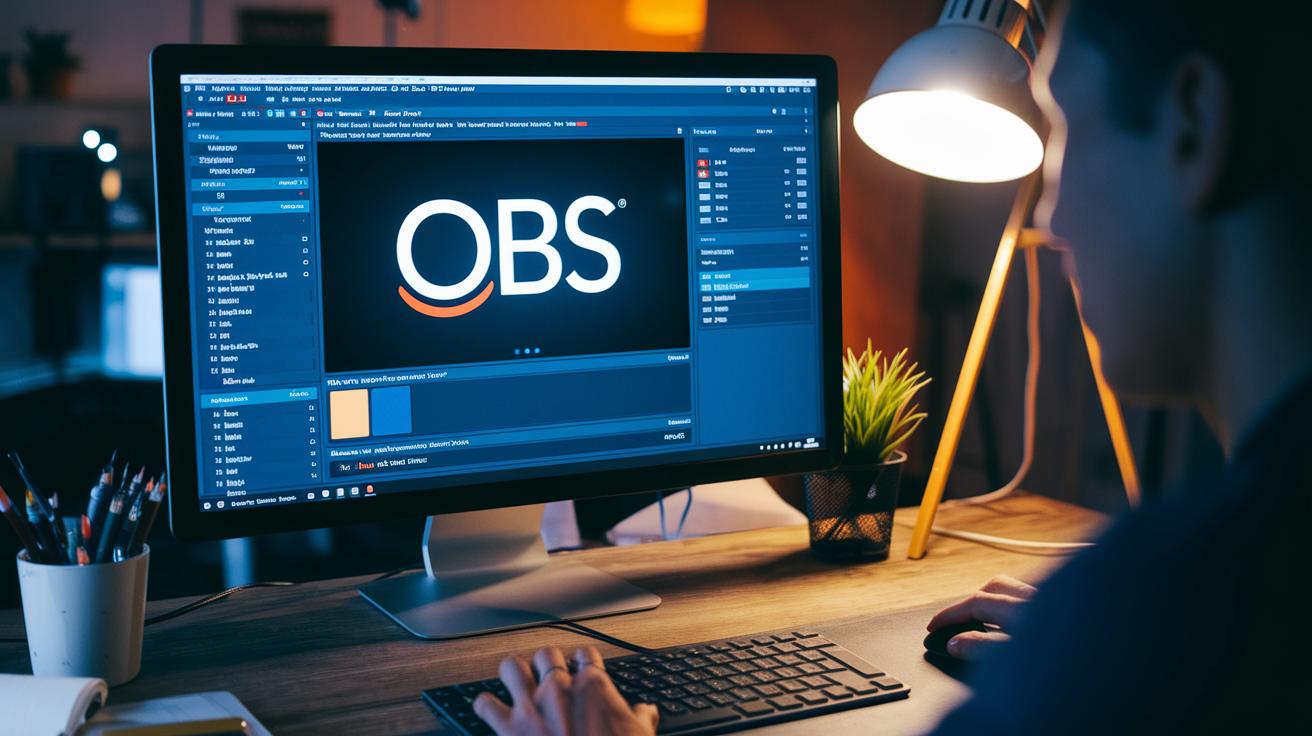
First, grab OBS Studio from obsproject.com and run the installer. Once it's set up, open OBS and jump into Settings. Under the Stream tab, pick Twitch as your service, then paste your stream key (you can find this in your Twitch dashboard) or opt for the RTMP URL if you want a manual touch. Keep that key under wraps to avoid any unwanted interruptions.
Next, head to the Output settings. Here, you’ll choose your encoder. Your options are x264 (which uses your CPU) or NVENC (great for NVIDIA GPUs to ease the load on your CPU). If you go with x264, adjust the CPU usage preset. A faster preset means less CPU drain but lower video quality, while a slower setting ups the image quality at a higher CPU cost. Choose based on your system’s strength and your stream’s needs.
Then, open the Video settings to set your streaming resolution and frame rate. Common picks are 1280×720 at 30 or 60 fps, or 1920×1080 at the same frame rates. Remember, higher resolutions can stress your hardware, so pick what matches your setup.
Finally, check out the Advanced tab. Set the process priority to "Above Normal" for smoother encoding, especially during intense gaming sessions. Give your setup a test run, record a short clip or run a private stream. Watch for sync issues between audio and video and make sure the frame rate stays steady. This quick test helps ensure your stream will deliver the smooth experience your audience deserves.
Optimizing Encoder, Bitrate, and Internet Requirements
Bottom line: Pick the right encoder and bitrate to keep your stream smooth and lag-free.
When you fire up OBS, you get two main choices. The x264 encoder runs on your CPU, while NVENC works off your NVIDIA GPU, taking some load off your processor. This means NVENC can drop your lag during those high-action moments, which is huge for keeping gameplay smooth.
Next, nail your bitrate settings to balance video quality and stability. For a 720p stream at 30 fps, target roughly 3000 Kbps. If you’re pushing 720p at 60 fps or 1080p at 30 fps, try around 4500 Kbps. For a 1080p60 stream, go with about 6000 Kbps. These settings keep your image crisp and help prevent dropped frames right when the action heats up.
Improve stability further by enabling Dynamic Bitrate in OBS. This neat feature automatically adjusts your bitrate if your network speed dips. And don’t forget a solid upload speed, Twitch recommends at least 5 Mbps for 720p60 and 6 Mbps for 1080p60 streams.
Lastly, switch on Low-Latency mode in your Twitch Dashboard. This minimizes any viewer delay, making sure your audience’s experience is as immediate and engaging as possible.
Designing Overlays, Alerts, and Scene Transitions for Twitch Streams
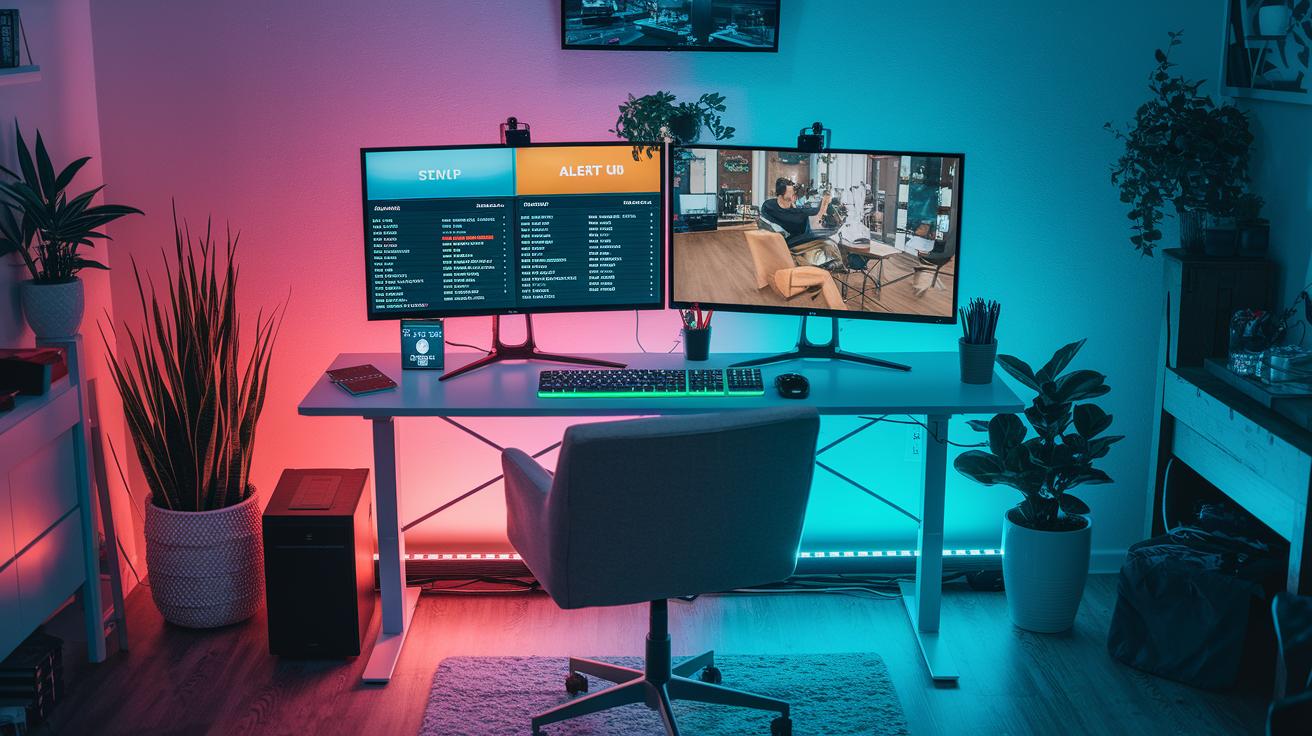
Kick things off by setting up your Streamlabs Alert Box. You can either use one of the ready-made alerts or craft your own with adjustable delays, moderation tools, and profanity filters. This way, when someone drops a $10 donation, you get a bold animated alert, while smaller tips get a simpler nod.
Then, add interactive widgets like a chat box, donation ticker, or event list from Streamlabs or StreamElements. These give viewers real-time updates without crowding your gameplay screen.
Next, create separate scenes for your broadcast, one for gameplay, another to chat with viewers, and one for break or BRB moments. Try out transitions like fade, swipe, or stinger effects to make switching smooth. If you’re after snazzier visuals, consider OBS plugins such as StreamFX for advanced animated overlays.
Key tips:
- Use custom animated graphics that match your stream’s personality.
- Set up tiered alerts to reflect different donation amounts.
- Incorporate interactive widgets to keep the audience engaged.
- Organize your scenes so that switching feels natural and boosts production quality.
Following these steps will give your broadcast a polished, professional look that enhances every moment you share with your viewers.
Monitoring Performance and Troubleshooting Common Issues
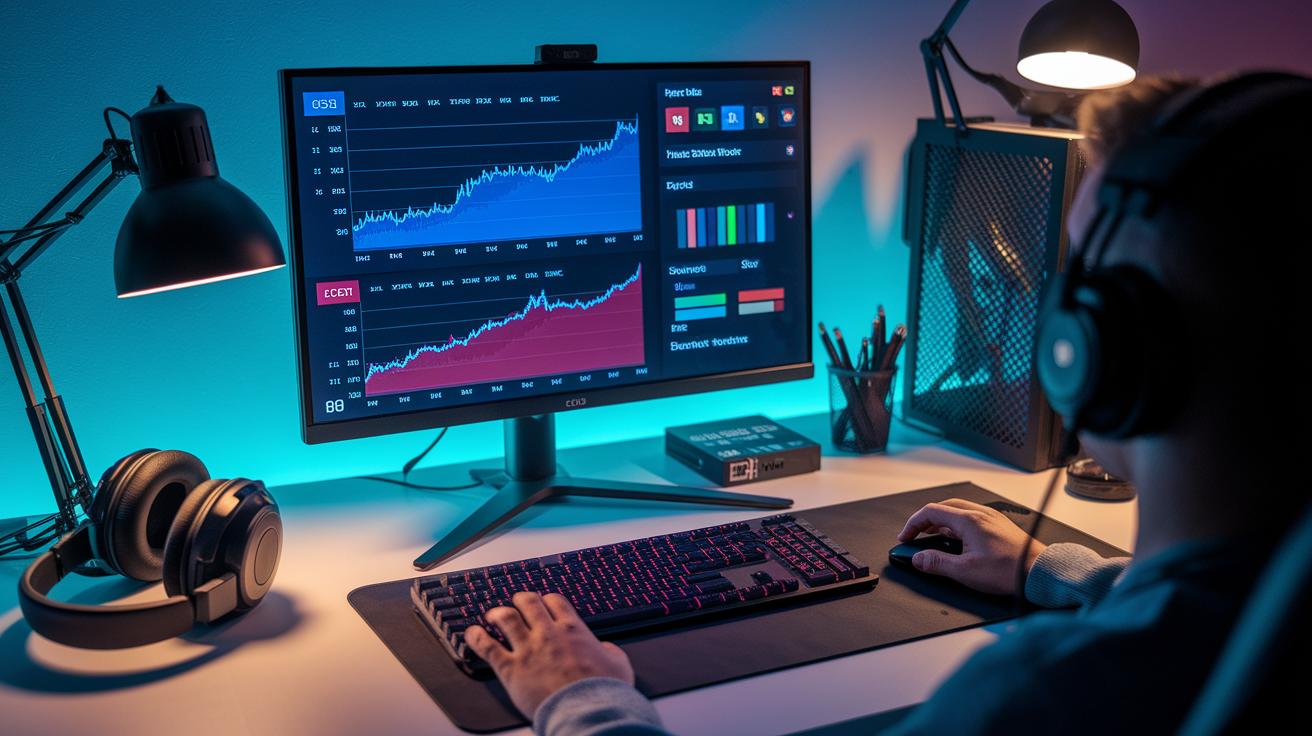
Keep track of your stream health with the OBS Stats dock and Twitch Inspector. These tools show real-time stats like dropped frames and bitrate. For example, during an intense in-game fight, a spike in dropped frames means you need to address stream lag.
When performance problems pop up, try these steps:
- Lower your output bitrate to ease network load.
- Turn on Dynamic Bitrate in OBS so it adjusts automatically based on your connection.
- Switch from wireless to wired Ethernet for a more stable signal.
Before going live, run local recordings to check that audio and video sync properly. If you spot delays, tweak the source delays in the OBS Audio settings. A quick way to test? Record a short clip and listen for any mismatch between the game sounds and your commentary.
Plan a backup recording locally using a second drive or different software option. This helps capture key moments if issues hit during your stream.
Streamline your work with automated scene switches using tools like the Elgato Stream Deck or OBS hotkeys. These shortcuts ensure smooth transitions during fast gameplay, even if you face connectivity hiccups.
By testing and monitoring in advance, you'll keep your broadcast smooth and uninterrupted.
Extending Your Twitch Stream Setup to Consoles and Mobile

Bottom line: Expanding your Twitch setup to include consoles and mobile lets you stream anytime, anywhere with minimal fuss. This guide shows you clear steps for PS5, Xbox, and mobile streaming options, plus tips for remote production.
For PS5 users, the built-in Twitch app gets you live fast. But if you want higher resolutions and more control, a capture card is your go-to. On Xbox, head to the Broadcast tab to launch Twitch. Make sure your mic is on and use a clear, HD profile image so your stream looks sharp and professional.
Mobile streaming is super straightforward too. Launch the Twitch app on your smartphone. For better audio, consider using an external mic adapter. And if you want to hit multiple platforms, simulcasting with tools like Restream.io makes it easy to stream across several services at once.
Remote production can ease the load on your local setup. With a cloud GPU (a server running a graphics processing unit), you can encode RTMP feeds (real-time streaming protocol feeds) and send them to OBS. Plus, setting up separate output paths helps you switch between local recording and live streaming without a hitch.
- Console streaming keeps your feed smooth and professional.
- Mobile setups let you stream quality content on the go.
- Simulcasting and remote production open up new ways to reach audiences.
Final Words
In the action, this guide breaks down every essential step to craft a solid twitch stream setup. It shows you how to secure your Twitch account with 2FA, install and configure OBS Studio, and connect the right hardware for smooth, lag-free streaming. You learn to fine-tune encoder settings, design sharp overlays, and monitor performance to avoid common issues. Even console or mobile setups get a shout-out. The clear, step-by-step advice puts you in control of your stream. Keep testing, and enjoy every moment as you go live!
FAQ
Twitch stream setup reddit
The Reddit community offers advice on setting up your Twitch stream. It provides user experiences, troubleshooting tips, and discussions on tools like OBS and Twitch Studio for an optimized broadcast.
Twitch Studio
The Twitch Studio is Twitch’s own streaming software designed for beginners. It guides you through hardware setup, overlays, and stream key integration to help you launch your live broadcast with ease.
Twitch stream setup android
Twitch stream setup on Android uses the Twitch mobile app. It enables direct broadcasting from your phone with basic controls for camera, microphone, and alerts, making mobile streaming straightforward.
Twitch streaming software
Twitch streaming software refers to tools like OBS Studio and Twitch Studio. They allow you to manage scenes, input sources, and stream settings, ensuring your broadcast runs smoothly on Twitch.
How to stream on Twitch mobile
Streaming on Twitch mobile starts with the Twitch app, which lets you broadcast directly from your phone. You simply log in, configure your settings, and start streaming without extra hardware.
Setting up Twitch stream on PS5
Setting up a Twitch stream on PS5 involves using the built-in Twitch app or a capture card for enhanced quality. You adjust your camera, microphone, and alerts to begin the live stream from your console.
Where is the start streaming button on Twitch
The start streaming button on Twitch is found in your Dashboard under the Stream Manager tab. It activates your live broadcast once you finish setting up your streaming software and account.
Twitch streaming software download
Twitch streaming software downloads, like OBS Studio or Twitch Studio, are available from their official sites. Both are free, integrate with your Twitch account, and offer robust streaming features.
How to properly set up a Twitch stream?
Properly setting up a Twitch stream starts with creating an account and enabling two-factor authentication. Then, link your streaming software to your stream key, connect your hardware, test your setup, and go live.
Can you make $1000 a month on Twitch?
Earning $1000 a month on Twitch is possible but depends on factors like audience size, subscriptions, donations, and ad revenue. Consistent streaming and engagement are critical to reaching that income level.
What equipment do I need to stream on Twitch?
The equipment you need includes a capable PC or console, quality camera, microphone, stable internet connection, proper lighting, and streaming software such as OBS Studio, all essential for a high-quality broadcast.
How much do 10,000 views on Twitch pay?
Earnings from 10,000 Twitch views vary based on ad revenue, subscriptions, and donations. Typically, view counts alone provide modest earnings unless supported by high engagement or additional revenue streams.