Bottom line: You don't need expensive gear to stream like a pro, even a smartphone can do the job with the right setup.
Ever felt like your streaming gear might be holding you back? It’s not all about fancy cameras or steep-price mics. You can start your broadcast with even a smartphone if you know the right steps.
In this guide, we show you how to mix a quality camera or webcam, a clear microphone, an encoder (which converts your video signal into a digital format), and a solid internet connection so your streams run smooth and reliably.
We break everything down step-by-step so you can build a live stream setup that delivers, even on a tight budget. Enjoy the process and let your creativity shine on stream.
Essential Components of a Live Stream Video Setup

Bottom line: For a smooth live broadcast, start with the basics, camera, microphone, encoder or streaming software, and a solid internet connection. This setup works even if you’re on a tight budget.
Your video source can be as simple as a smartphone. Modern smartphones shoot in Full HD, making them a smart pick for beginners. If you want to cut costs, you can also rely on a basic webcam or your laptop’s built-in camera.
Audio is just as crucial. While your device’s built-in mic might work for casual streaming, a dedicated microphone gives you clear, crisp sound that keeps viewers engaged. Good audio is like having a clear callout in a heated match, it makes all the difference.
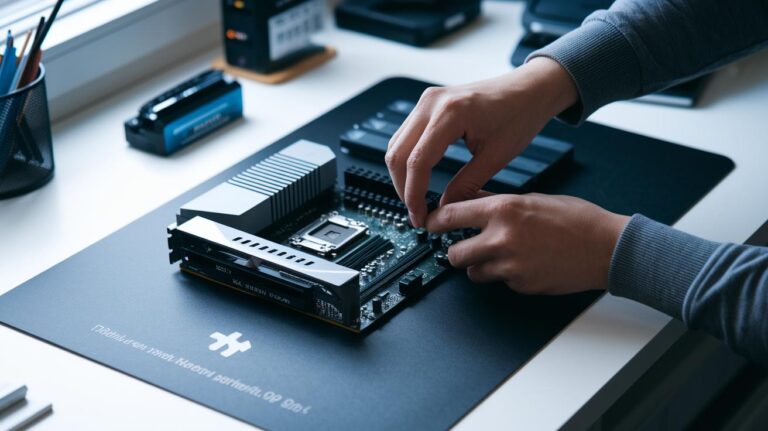
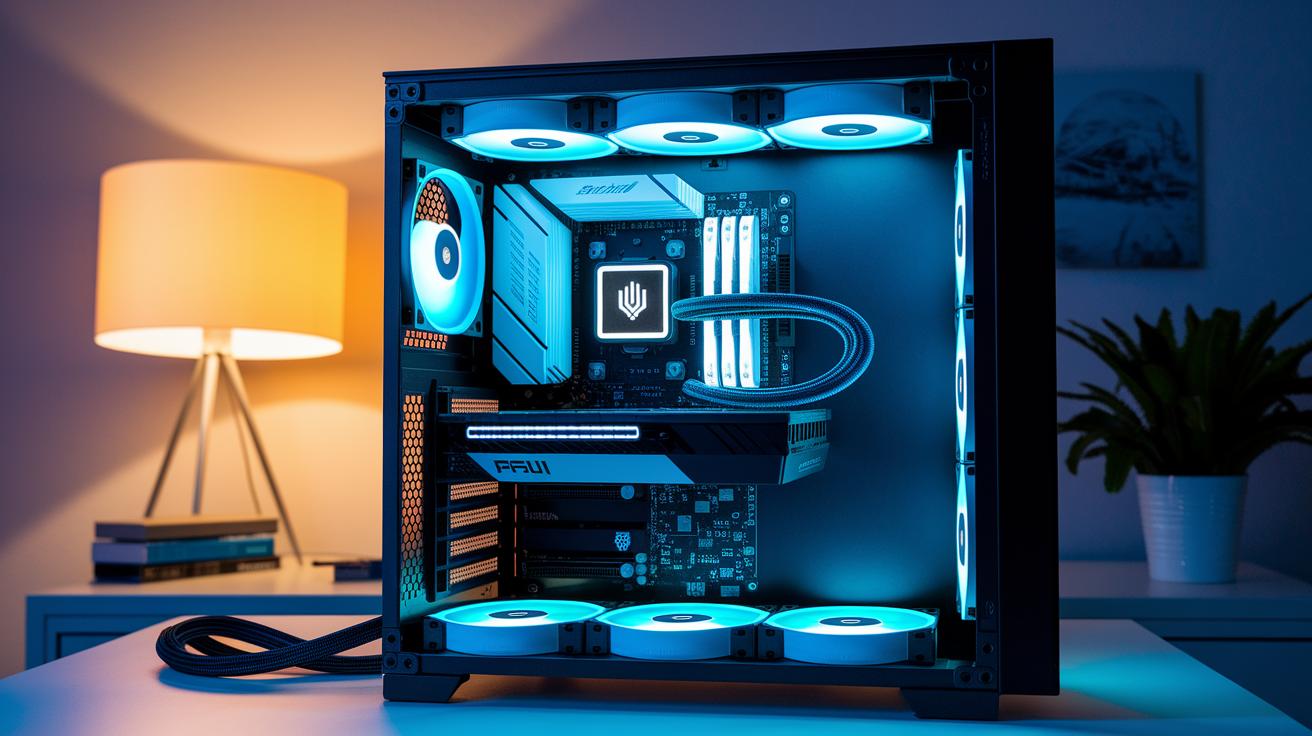
Your PC should be up to the task, too. I recommend a system with at least 8 GB of RAM (16 GB is even better) and a modern CPU. Whether you use OBS or a hardware encoder, these tools compress your video and audio into stream-ready formats so you don’t experience lag or sudden dropouts.
Finally, don’t neglect your internet. A wired Ethernet connection is a no-brainer if you want steady upload speeds. With enough bandwidth to exceed your chosen bitrate, you’ll keep your stream smooth and uninterrupted.
Cameras and Capture Devices in a Live Stream Video Setup

Bottom line: Your camera choice should match your budget and quality goals. If you’re just getting started, your laptop’s built-in camera or a simple webcam works fine. Many streamers even use smartphones to hit 1080p without extra cost.
A smartphone is a quick, budget-friendly way to test live streaming waters. But when you’re ready to step it up, try a DSLR or compact mirrorless camera paired with a capture card. Capture cards take HDMI (video cables that carry signals) or SDI (professional video connections) and feed them straight into your PC software, keeping your stream sharp and smooth.
Here’s a quick rundown:
- Webcam: Best for entry-level streaming.
- Smartphone: Ideal for 1080p without spending extra.
- DSLR + Capture Card: Perfect for higher detail and richer colors as your channel grows.
This setup gives you flexibility to upgrade over time, balancing cost with production quality.
Audio Setup for Live Stream Video

Clear audio is key when your content depends on talking. Laptop and webcam mics can work in a pinch, but they often pick up background noise and lack clarity. Upgrading to a dedicated USB condenser or XLR mic gives you crisp, studio-like sound. Think of it like that perfect in-game callout, your audience stays focused and your stream feels professional.
Pairing a quality mic with an audio mixer makes a world of difference. A mixer lets you handle multiple sound sources and adjust levels on the fly while cutting out unwanted echo. This control is a must if you plan to mix in instruments or guest mics. While some streamers debate USB versus XLR, your choice will depend on your budget and needs. For a deeper dive, check out detailed streaming microphone guides.
To polish your sound even further, add an external USB sound card. It helps reduce echo and buffering, making sure your audio stays clean all broadcast long. Investing in these tools means your live stream not only sounds great but also feels inviting, capturing every detail of your commentary without missing a beat.
Encoding and Software Configuration in Your Live Stream Video Setup

Bottom line: A well-tuned encoder keeps your stream smooth and reliable. If you set it up right, you'll avoid lag and dropouts, keeping your audience fully engaged.
Your encoder is the workhorse that turns raw audio and video into a finished stream. Whether you're using OBS or a dedicated hardware unit, it must be set correctly. For a solid starting point, try a resolution of 1280×720 at 30 fps and a bitrate of 3000 Kbps. This balance works well for most mid-range systems without overloading your hardware.
Once you install your streaming software, jump into the settings. Enter your chosen resolution, fps, and bitrate in the encoder’s panel. This helps ensure that your stream is balanced, delivering smooth video and crisp audio, even on less powerful systems. Run a few test streams to see if you need any tweaks.
Next, link your encoder to your streaming platform. Grab your unique stream key from YouTube, Facebook Live, or Twitch, and paste it into the proper field in OBS or your encoder’s web interface. This step is crucial; it lets your encoder send your compressed signal to your streaming server, so your live broadcast launches seamlessly.
Internet and Network Requirements for Live Stream Video Setup
Bottom line: A wired Ethernet connection is the most reliable choice for smooth live streams.
Using Ethernet cuts down on signal drops compared to Wi-Fi or cellular networks. Before you go live, test your upload speed with a trusted tool. For example, if you set your stream bitrate to 3000 Kbps, aim for at least a 5 Mbps upload speed. This extra speed helps keep your stream lag-free during intense moments.
Keep in mind that most content delivery setups have a 10 to 30 second buffer delay. Plan for this latency so your audience enjoys a steady, seamless broadcast every time.
Lighting and Background Essentials in a Live Stream Video Setup
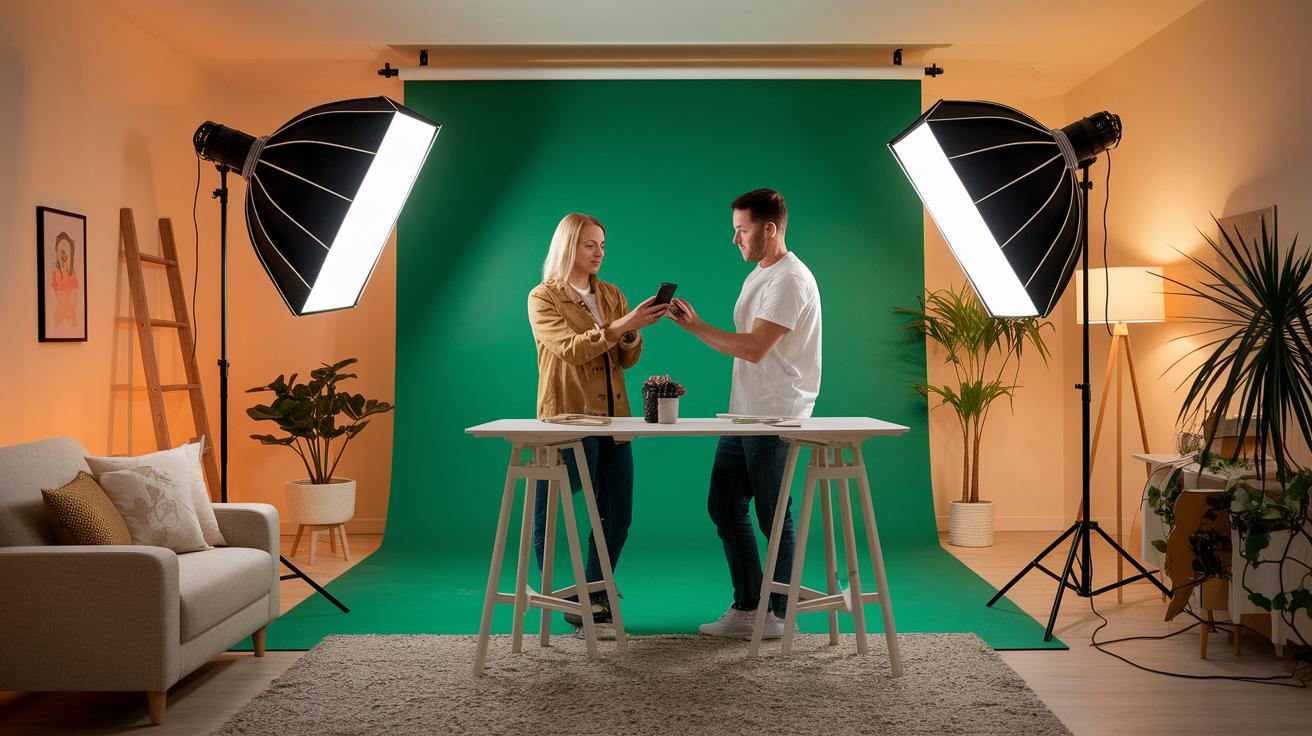
Bottom line: Good lighting and a clear backdrop make your stream look pro.
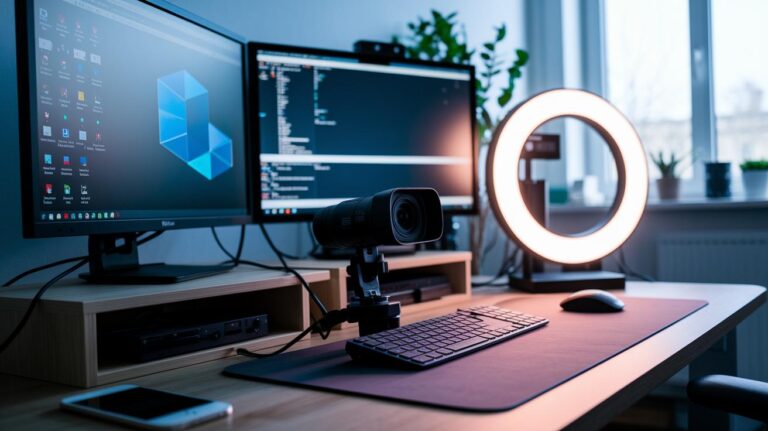
Getting your lighting right is key. Instead of harsh shadows and washed-out colors, use softboxes or LED panels set at about 45° angles for a three-point lighting setup. This means one light on each side and one for the back, lighting you up softly like a TV studio. Even in low light, your face stays sharp and full of life.
A clean background completes the look. A GFCC 7×10 green screen lets you swap your dull room for dynamic images or video. This neat switch gives your stream a smooth, professional feel, especially if you want a more engaging, digital backdrop.
Advanced Tools and Accessories for a Professional Live Stream Video Setup

Boost your live stream game with top-notch gear that makes your broadcast smooth and reliable. The right tools, like the Elgato Stream Deck, let you switch scenes with one click, while a video mixer like the ATEM Mini manages multiple camera feeds seamlessly. If you're running a multi-camera shoot, these devices let you mix angles on the fly to keep your viewers hooked. Adding support items such as tripods, gimbals, and spare HDMI/SDI cables improves stability and ease of use. Plus, backup power banks and external SSDs guard against sudden power or storage issues, so you never miss a moment on air.
Investing in a complete gear checklist not only ups your production value but also gives you peace of mind during critical broadcasts. This advanced setup minimizes technical hiccups and gives you smooth control over all your video sources. Check out the table below for a quick look at high-end accessories that can level up your live stream setup:
| Accessory | Function | Recommended Model |
|---|---|---|
| Elgato Stream Deck | Easy scene switching and macro control | Elgato Stream Deck |
| Video Mixer | Manage multiple camera feeds | ATEM Mini |
| Tripod | Steady camera support | Neewer Carbon Fiber Tripod |
| Backup Power Bank | Keep your stream powered | Anker PowerCore |
| External SSD | Fast, reliable storage | Samsung T7 |
Final Words
In the action, we broke down every key piece of a solid live stream video setup, from cameras and microphones to encoding tools and lighting.
We ran through the must-have gear, network tips, and even extra accessories that boost overall performance.
This guide makes it easy to pick the right gear that meets your needs for smooth gameplay and professional streams.
Keep testing and tweaking your setup, and you'll be ready to level up your stream with confidence and solid performance.
FAQ
How do I set up a free live stream on Android?
Free live streaming on Android can be done using apps like Streamlabs Mobile. You start with your device’s built-in camera, use free software, and rely on a stable connection to ensure smooth transmission.
What professional and multi-camera live streaming equipment is needed?
Professional setups typically include DSLR or mirrorless cameras paired with HDMI capture cards, quality microphones, and often multiple cameras. Such gear provides sharp visuals and dynamic angles for polished streams.
How do I set up live streaming equipment for a church service?
Live streaming for church requires gear that delivers clear visuals and sound. Fixed or multi-camera setups paired with quality microphones and wired internet ensure smooth coverage of sermons and events.
How do I set up a live stream for YouTube?
Setting up a YouTube live stream starts with a camera, a good microphone, and encoding software like OBS. Enter your unique stream key from YouTube into your software for a hassle-free broadcast.
What portable live streaming equipment do I need?
Portable live streaming equipment might include a compact camera or smartphone, a lightweight tripod, and a mobile streaming app. This setup lets you stream on the go without bulky gear.
What equipment should I use for a gaming live stream?
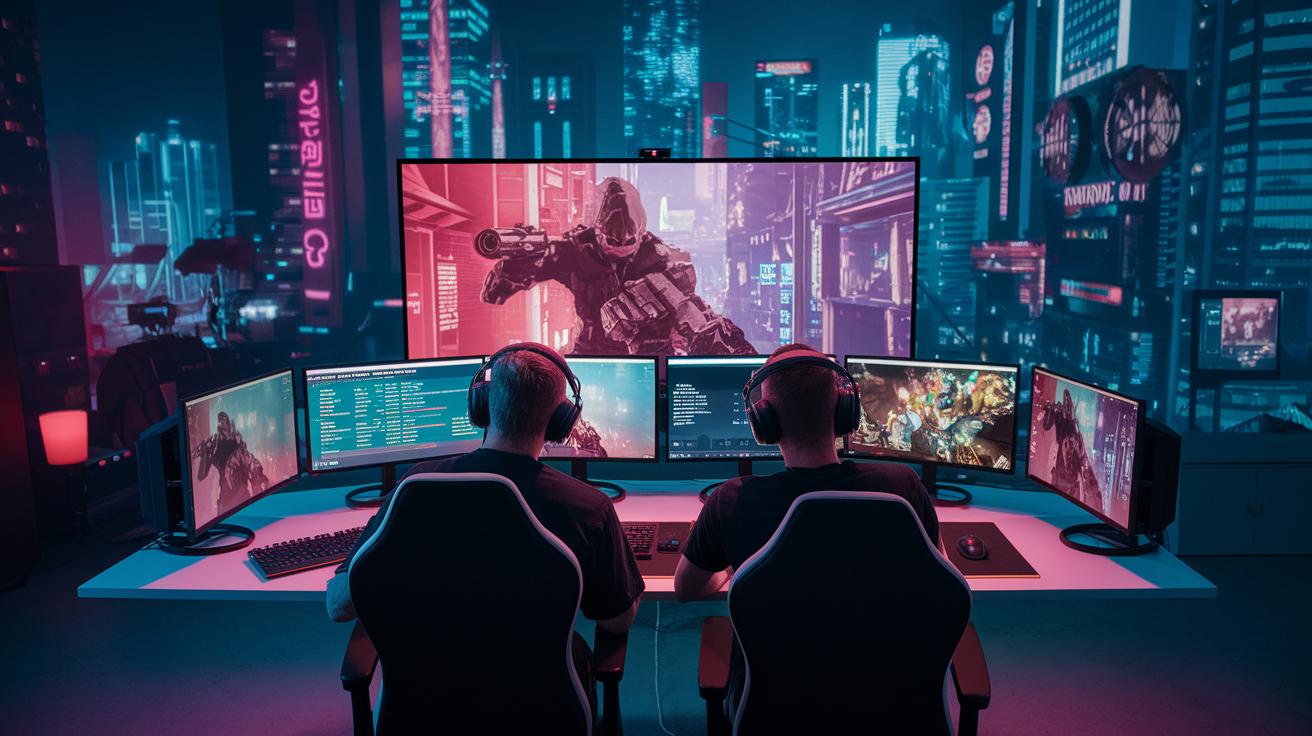
A gaming live stream setup focuses on high-performance PCs, low-latency peripherals, quality cameras, and crisp audio gear. This combination ensures smooth gameplay capture and clear commentary during intense sessions.
What is the basic live streaming setup and what equipment is needed?
A basic streaming setup includes a camera (webcam or smartphone), a microphone, an encoder (like OBS), and a stable internet connection. This essential gear gets you started with streaming on various platforms.
How much does a live streaming setup typically cost?
Live streaming costs vary widely. Basic setups may start around $100 with budget smartphone options, while professional systems with high-end cameras and accessories can run several hundred dollars or more.